I started by trying a few flowers. My first flower works similar to a paper rolled flower. I tore a piece of washi tape about 12 inches long. I crumpled and folded the tape in half length wise not trying to do this perfectly.
Starting at one end of the tape I folded the end down then rolled tightly.
Once I reached the end I could have used the adhesive to hold the roll together but I found it held best by adding some liquid adhesive to the bottom of the flower. For this particular flower, I added some Glimmer Glam to the Washi flower as well as the pink flower. It really shows up well on the pink flower but didn’t do much for the washi flower. I would recommend using regular glitter if you really want to give your washi flower a sparkle.
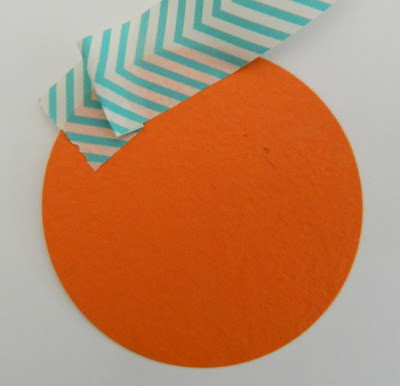
I also tried a pleated flower. I punched a cardstock circle a little smaller than my desired flower size. For visual purposes here I used orange cardstock for my base but I used white for my layout. Starting on the outside of the circle, stick the washi tape about half way on the circle. Every half inch or so, fold the washi back to create a pleat before continuing forward again.
Depending on the size of your desired flower you might want to go around your circle more than once, each time working closer towards the center of the circle. Once you are finished, stick the end of the washi in the center of the circle. I chose to cover mine with a brad.
With so much washi I even tried a washi tape background.
Lastly, I made washi circles for my “Brothers” layout. I put some washi tape on a piece of white cardstock and punched out circles.


No comments:
Post a Comment