Wednesday, October 2, 2013

Tutorial and some October Sneak peaks

Happy October!
I have to admit, I'm way behind on the times.  It is already October and the My Creative Scrapbook reveal is just 3 days away.  I'm still talking about the September Creative kit. I wanted to give you a little tutorial on how I created some of my September layouts.  You can view my tutorial as well as many others on the My Creative Scrapbook blog, www.mycreativescrapbook.blogspot.com

Here is my tutorial:
If you are like me you flip though the pages of your scrapbook and see lots of rectangles and squares; even plenty of circles. September’s Creative kit inspired me to work with a different shape – a triangle. I’ve done a little with triangles in the past but typically I shy away from them because it is hard to get them in a uniform shape or to have the pattern of the paper look good with the shape. This month we have a great paper in our kits with a triangle pattern. I knew this was the month to do something different – to use a different shape on my layouts; triangles!
On my “Love This” layout I made some large triangles simply by following the pattern of the triangle paper. Once I decided on how wide and how tall I wanted my triangles to be I just cut them out followed the lines of the triangles on the paper. Once I cut my triangle paper I used it one triangle as a template to make my cork looking (packaging for my die cuts) triangles.
Here is how the layout turned out.
My second layout using triangles really challenged me but you should not be scared off by it! Once I figured out what I was doing I couldn’t believe it took me so long to figure out. This is not difficult nor does it take as much time as you might think.
First, I chose three papers to work with and cut a bunch of 1 ½” squares. I cut my squares diagnally in half. Next, I decided where I wanted the triangles to go on my layout and used a pencil to draw a line on my cardstock for the top row of triangles. I drew a second line about half an inch below the first line as well. Now I was ready to add my tringles. I put the triangles on my layout before I added the yellow strip on the right as well as the pictures. This way my triangles didn’t have to be perfectly placed on one side or the top row.
I started on the right side of the bottom line and placed my triangle with the point down and the part I cut (where I cut the square in half) on the line. Do the same thing with the next triangle but overlap the first triangle about half way. Place the third triangle overlapping the second one half way as well. Repeat this across the page and once you get to the end of your line, trim your last triangle as needed. I started the next row of triangles between the two pencil lines and a little further to the right of the first triangle (in order to offset the points of the triangles). Repeat as you did with the first row. The third row of triangles should be placed on the to top line again offsetting the triangle points as you did on the other rows. Once you add your yellow strip and photo any imperfections and offsets on the right will be covered up. Just finish assembling your page.
 
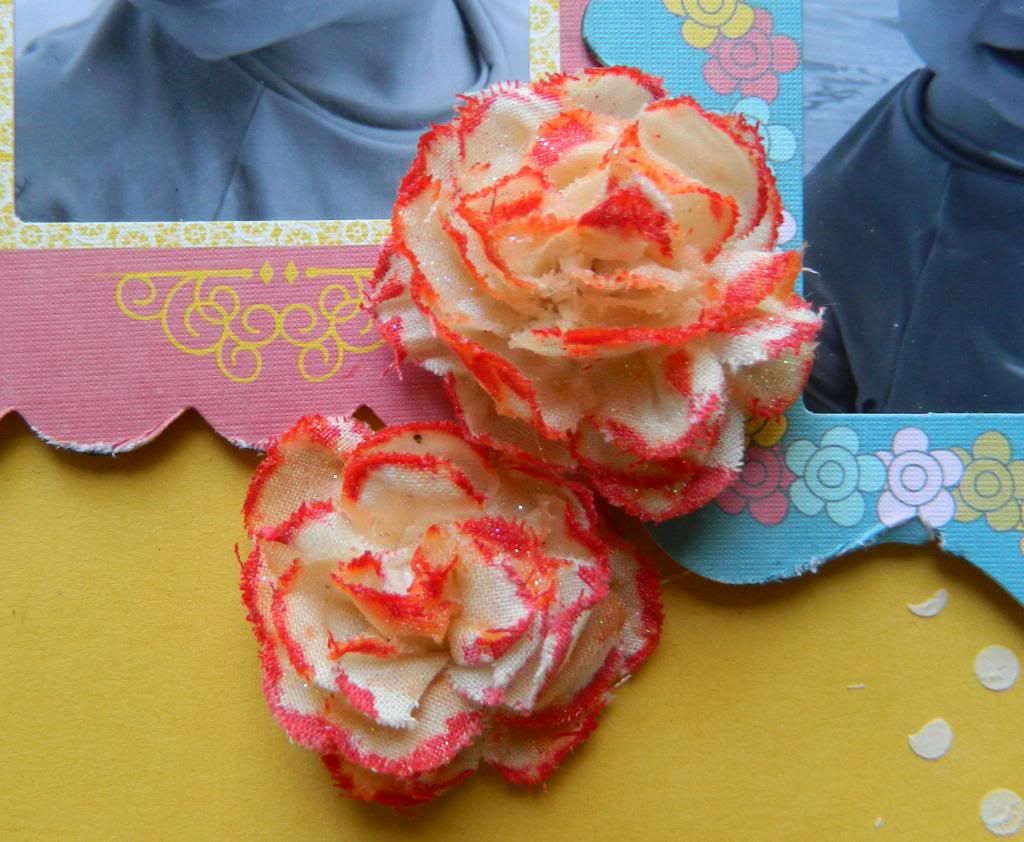
Lastly, I wanted to share how I created the carnation looking flowers on my “I love you” layout. I have to admit I was scared of ruining my flowers when I started working with them but as I did, I got more and more excited about how they were turning out.
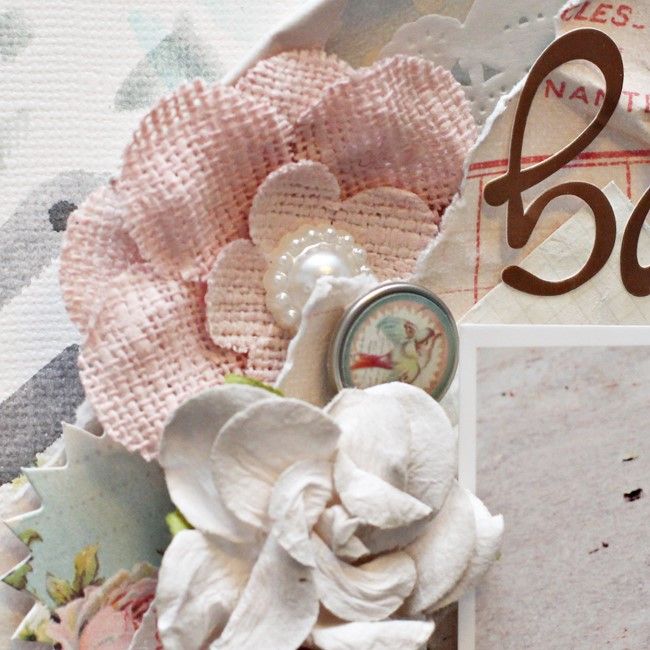
First, I poured a little pink colored glimmer mist on my craft mat and lightly dipped my paint brush in it then touched the tips of the petals. Once I added the mist to the flowers I set them aside to dry (or you can use a heat gun).
Once my flowers were dry I added glimmer glam to the entire flower petals. I find it best not to mix up the glimmer glam. Just dip a fanned paint brush into the bottom of the glimmer glam jar to gather the glitter. The mist may bleed a little so if you feel you picked up much mist on your brush you might rinse it before you apply more glimmer glam so you don’t spread the mist on other parts of the petals. Again, let the flowers dry or use a heat gun to dry them before you add them to the layout.
 
So there you have it.  A couple easy tips that you'll hopefully find helpful when you scrapbook.
 
NOW FOR THE OCTOBER MY CREATIVE SCRAPBOOK SNEAK PEAKS!
 
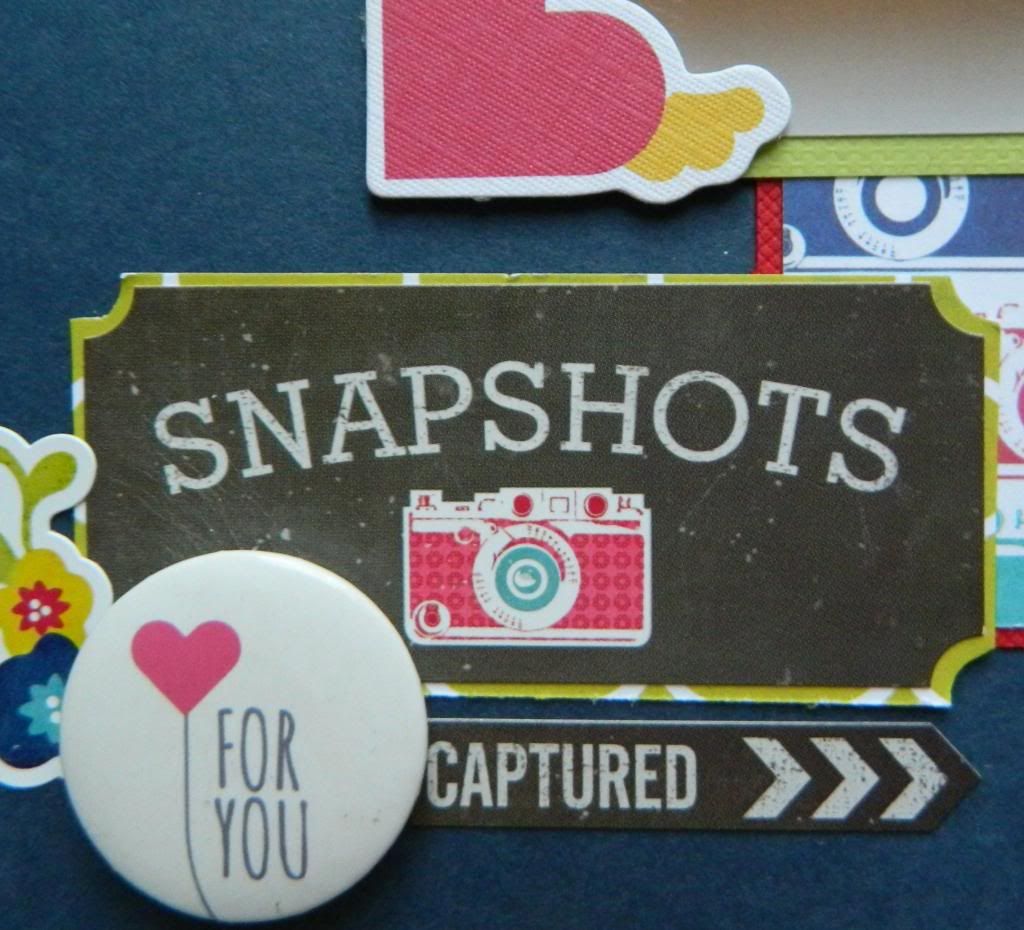
Main kit:
The Creative kit:
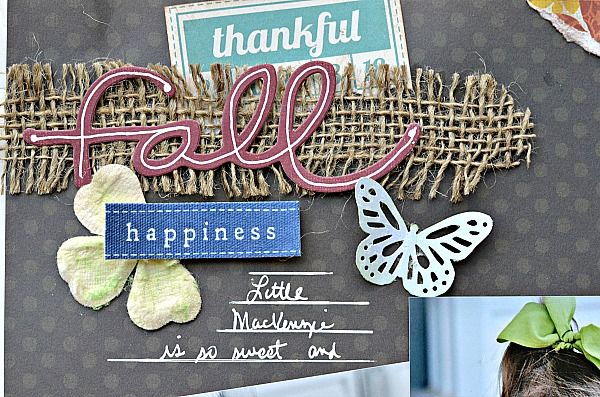
Check out the beautiful sneaks of the Limited Edition kit:
Lastly, this month I was asked to work with the Album kit.  No..... I didn't make an album.  As much as I love mini albums I'm more of a layout kind of girl - besides Kristin Greenwood, our album maker, is so awesome I could never measure up. 
Here are a few sneaks from Kristin's mini and my layouts:
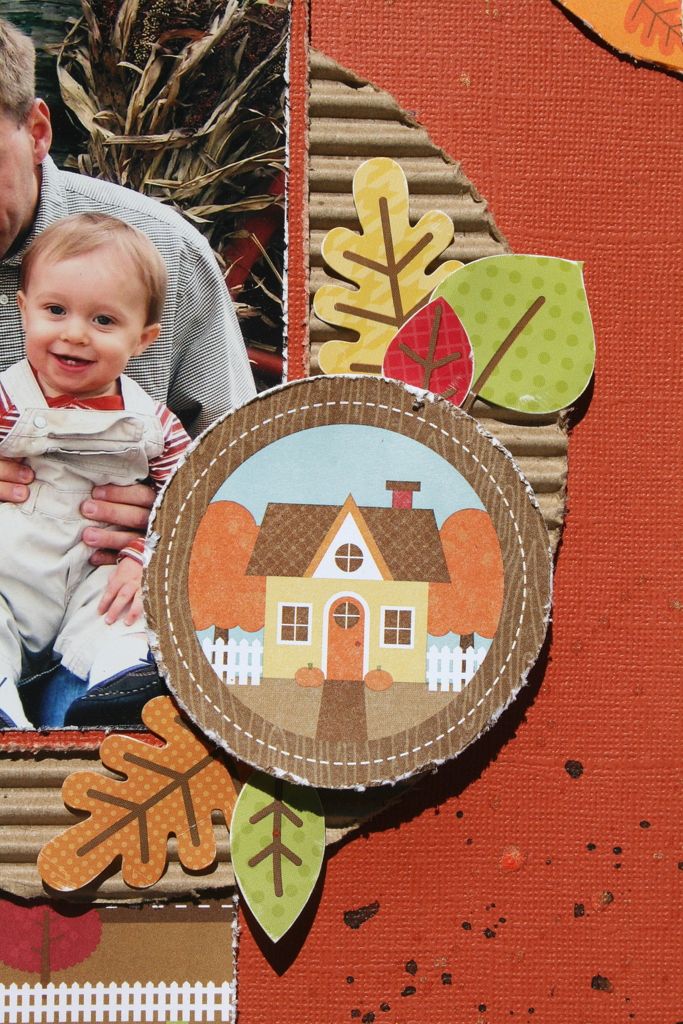
You'll find even more sneaks at www.mycreativescrapbook.blogspot.com.  Don't forget to check back on the 5th for the full reveal.  You can see all my layouts as well as the rest of the team by visiting the design team gallery at www.mycreativescrapbook.com starting on the 5th. 
Also, check out the blog - we are announcing a way for you to win the Limited Edition kit for free.  You won't want to miss out on that!
I hope you'll be back to visit me in just a few days.
Joan

Thursday, September 5, 2013

My Creative Scrapbook September kit reveal

I love the 5th of the month - it means it is time to check out all the new kits and layouts on the mycreativescrapbook.com kit club website.  You should head over there and check them out for yourself.  I want to share some kits with you today as well as some of my layouts. 

The Main kit is filled with My Minds Eye and We Are Memory Keepers Chalkboard papers and elements. 


The Album kit is so pretty this month.  It feartures Lilly Bee products.


Check out the amazing Limited Edition kit.  I love the Prima papers!


Lastly, the Creative kit is my favorite.  The colors are bright and happy.  It mixes Fancy Pants and Echo Park. 


I decided to make two 2 page layouts with the Creative kit this month.  Do you like having two page layouts as samples?  Let me know!

 
I have to admit this is one of my favorite layouts ever.  The photos were taken of my son, Chase, a few months ago.  He loves posing for me.  I was playing around in Picasa editing my photos and loved the end result.  They feel like professional photos to me!


These photos are of my niece, Samantha, and me a year and a half ago.  We were playing together and I couldn't help but snap photos as we played.
 
 
Here are the other layouts I made this month:
 
This is another layout featuring my niece, only this time it is pictures I took in July.  Watch for a tutorial regarding the flowers coming soon.
 
My husband and I took our boys to Colorado for vacation in early August.  It was a great trip.  The next few layouts are from our trip.
I will have a tutorial on the triangles coming later in the month.
 
There were so many elements in this kit I ran out of time to use them all.  I probably could have made 2 more layouts with the paper and products I had left.  I hope you love what you see.  Let me know if you have any questions about what I used or how I made the layouts.  I'm happy to assist you!
 
Have a great month!
Joan


Wednesday, September 4, 2013

September My Creative Scrapbook Sneak Peaks

Good Evening,

Tomorrow is reveal day at mycreativescrapbook.com- can't wait?  I am so excited to see the design teams work.  Here are some sneaks - you can see more at www.mycreativescrapbook.blogspot.com

The Main kit:


The album kit:


Oh-la-la the Limited Edition kit:


Lastly, my personal favorite - the Creative kit:


Like the flowers?  I'll have a tutorial on how to do this later in the month.  It was really pretty easy! 

Check back tomorrow.  I should have some great kit photos for you or visit www.mycreativescrapbook.com and see ALL the great work in the design team gallery.

Joan

Saturday, August 31, 2013

Are you ready? and One last picture from August

Happy Saturday!  Today is August 31st.  That means tomorrow sneaks of My Creative Scrapbook September kits will be up for show at www.mycreativescrapbook.blogspot.com.  I can't wait for you to see what is coming your way in September.  Even though I've seen the kits and even seen some of the design team layouts already I still love the 5th of the month.  I'll be on the website, www.mycreativescrapbook.com right along with you.  Visit the design team gallery and check out all the cool stuff everyone created. 
Remember you can "scraplift (copy)" our projects, make your own, or create a hybrid. 

While you wait I thought I'd share one last view of the August Creative kit.  This is the two page layout I created with the kit.  If features my two oldest, Charlie and Chase, along with my niece, Chloe.  These pictures were taken in 2009.  Obviously, I'm quite behind and I don't work in order.  I gave up on that long ago.

 photo 061_zpsac37a967.jpg

Thursday, August 29, 2013

Creative ways to use Washi Tape

This month’s My Creative Scrapbook Creative kit (www.mycreativescrapbook.com)  includes an entire roll of Washi tape. I challenged myself to find some creative ways to use it. I thought I’d share a few of them with you.

I started by trying a few flowers. My first flower works similar to a paper rolled flower. I tore a piece of washi tape about 12 inches long. I crumpled and folded the tape in half length wise not trying to do this perfectly. 
 
Starting at one end of the tape I folded the end down then rolled tightly.
Once I reached the end I could have used the adhesive to hold the roll together but I found it held best by adding some liquid adhesive to the bottom of the flower. For this particular flower, I added some Glimmer Glam to the Washi flower as well as the pink flower. It really shows up well on the pink flower but didn’t do much for the washi flower. I would recommend using regular glitter if you really want to give your washi flower a sparkle.
I also tried a pleated flower. I punched a cardstock circle a little smaller than my desired flower size. For visual purposes here I used orange cardstock for my base but I used white for my layout. Starting on the outside of the circle, stick the washi tape about half way on the circle. Every half inch or so, fold the washi back to create a pleat before continuing forward again.  
Depending on the size of your desired flower you might want to go around your circle more than once, each time working closer towards the center of the circle. Once you are finished, stick the end of the washi in the center of the circle. I chose to cover mine with a brad.
With so much washi I even tried a washi tape background.
Lastly, I made washi circles for my “Brothers” layout. I put some washi tape on a piece of white cardstock and punched out circles.
 

Monday, August 26, 2013

www.MyCreativeSketches.blogspot.com - Sketch contest is in full swing

Happy Monday!

I wanted to remind you that www.mycreativesketches.blogspot.com is currently offering a great prize but the only way you have a chance to win is by entering your layout!  The great thing - it is a random draw prize so everyone has a chance to win. 
What do you win?????
Check it out:

What do I do????  Make a layout based on your interpretation of this months sketch. 
Here it is:
Layouts are due by September 14th.  Visit the website, www.mycreativesketches.blogspot.com for more details.

Lastly, I'd like to share my interpretation of the sketch with you.  I used the August Creative kit from www.mycreativescrapbook.com to create the layout.

I thought it would be fun to scrap some adult males and the scene was perfect for this months kit.  This photo was taken in 2004.  My  husband is on your left.  The photo was taken in San Franscisco. 
I will be sharing a tutorial about the circles on this page later this month on the My Creative Scrapbook blog so be sure to watch for that, www.mycreativescrapbook.blogspot.com

Thanks for taking the time to view my blog.  Please post your layout here too if you decide to participate in the sketch challenge.  I'd love to see your work!

Hugs,
Joan